HTTP Live Streaming (HLS)
HTTP Live Streaming (HLS) là một trong những giao thức phát trực tuyến video được sử dụng rộng rãi nhất . Mặc dù nó được gọi là HTTP "live" streaming, nhưng nó được sử dụng cho cả phát trực tuyến theo yêu cầu và phát trực tiếp. HLS chia nhỏ các tệp video thành các tệp HTTP nhỏ hơn có thể tải xuống và phân phối chúng bằng giao thức HTTP. Các thiết bị khách tải các tệp HTTP này và sau đó phát lại chúng dưới dạng video.
Một ưu điểm của HLS là tất cả các thiết bị kết nối Internet đều hỗ trợ HTTP nên việc triển khai đơn giản hơn so với các giao thức truyền trực tuyến yêu cầu sử dụng các máy chủ chuyên dụng. Một ưu điểm khác là luồng HLS có thể tăng hoặc giảm chất lượng video tùy thuộc vào điều kiện mạng mà không làm gián đoạn quá trình phát lại. Đây là lý do tại sao chất lượng video có thể tốt hơn hoặc kém hơn ở giữa video khi người dùng đang xem video đó. Tính năng này được gọi là "adaptive bitrate video delivery" hoặc " adaptive bitrate streaming" và nếu không có nó, điều kiện mạng chậm có thể ngăn video phát hoàn toàn.
HLS được Apple phát triển để sử dụng trên các sản phẩm của Apple, nhưng hiện nó đã được sử dụng trên nhiều loại thiết bị.
Cài đặt HTTP Live Streaming trong Laravel
Cài đặt thư viện pbmedia/laravel-ffmpeg
Trước khi bắt đầu, bạn cần đảm bảo môi trường linux của bạn đã cài package FFmpeg.
Đầu tiên, chúng ta sẽ cài thư viện pbmedia/laravel-ffmpeg để hỗ trợ chúng ta thiết lập HLS trong Laravel, bạn hãy chạy lệnh command sau đây:
composer require pbmedia/laravel-ffmpeg
Tiếp theo, chúng ta sẽ thêm Service Provider và Facade vào file config/app.php
'providers' => [
    ...
    ProtoneMedia\LaravelFFMpeg\Support\ServiceProvider::class,
    ...
];

'aliases' => [
    ...
    'FFMpeg' => ProtoneMedia\LaravelFFMpeg\Support\FFMpeg::class
    ...
];
Tiếp theo, chúng ta sẽ tạo file config bằng lệnh command sau đây:
php artisan vendor:publish --provider="ProtoneMedia\LaravelFFMpeg\Support\ServiceProvider"Bạn hãy thêm FFMPEG_BINARIES và FFPROBE_BINARIES vào file .env như sau:
FFMPEG_BINARIES=/usr/bin/ffmpeg
FFPROBE_BINARIES=/usr/bin/ffprobe
Setting filesystems
Chúng ta sẽ config các thông tin disk cần thiết, mở file filesystems.php nằm trong thư mục config và thêm các thông tin như sau:
<?php

return [
    ...
    'disks' => [
        ...
        'uploads' => [
            'driver' => 'local',
            'root' => storage_path('app/upload'),
        ],

        'streamable_videos' => [
            'driver' => 'local',
            'root' => storage_path('app/streamable_videos'),
            'url' => env('APP_URL').'/streamable_videos',
            'visibility' => 'public',
        ],

        'streamable_keys' => [
            'driver' => 'local',
            'root' => storage_path('app/streamable_keys'),
        ],
        ...
    ],
    ...
    'links' => [
        ...
        public_path('streamable_videos') => storage_path('app/streamable_videos'),
    ],

];
Hãy chạy lệnh command bên dưới, sau khi chỉnh sửa filesystems.php ở phía trên:
php artisan storage:linkXây dựng chức năng Upload, Convert và Phát video HLS
Trước tiên, hãy tạo model có tên là Video, và cũng chắc chắn rằng chúng ta sẽ controller và migrate cơ sở dữ liệu:
php artisan make:model Video --migration --controller
Vì đây là một ví dụ nên chúng ta sẽ tạo một migrate cơ sở dữ liệu đơn giản như sau:
<?php

use Illuminate\Database\Migrations\Migration;
use Illuminate\Database\Schema\Blueprint;
use Illuminate\Support\Facades\Schema;

class CreateVideosTable extends Migration
{
    /**
     * Run the migrations.
     *
     * @return void
     */
    public function up()
    {
        Schema::create('videos', function (Blueprint $table) {
            $table->increments('id');
            $table->string('original_name');
            $table->string('disk');
            $table->string('path');
            $table->datetime('converted_for_streaming_at')->nullable();
            $table->timestamps();
        });
    }

    /**
     * Reverse the migrations.
     *
     * @return void
     */
    public function down()
    {
        Schema::dropIfExists('videos');
    }
}
Tiếp theo, chúng ta chỉnh sửa model Video như sau:
<?php

namespace App\Models;

use Illuminate\Database\Eloquent\Factories\HasFactory;
use Illuminate\Database\Eloquent\Model;

class Video extends Model
{
    use HasFactory;

    /**
     * The attributes that are mass assignable.
     *
     * @var array<int, string>
     */
    protected $fillable = [
        'original_name',
        'disk',
        'path',
        'converted_for_streaming_at',
    ];

    /**
     * The attributes that should be cast.
     *
     * @var array<string, string>
     */
    protected $dates = [
        'converted_for_streaming_at',
    ];

}
Do phần xử lý convert video là rất nặng, nên chúng ta sẽ sử dụng Laravel Queue, đầu tiên chúng ta sẽ tạo một Job bằng lệnh command sau:
php artisan make:job ConvertVideoForStreaming
Các bạn có thể tìm hiểu thêm Laravel Queue ở các bài viết sau:
https://manhdandev.com/laravel-queues-and-jobs.html
https://manhdandev.com/laravel-jobs-batching.html
Tiếp theo, hãy mở file ConvertVideoForStreaming.php nằm trong thư mục app/Jobs và chỉnh sửa như sau:
<?php

namespace App\Jobs;

use FFMpeg;
use Carbon\Carbon;
use App\Models\Video;
use FFMpeg\Format\Video\X264;
use Illuminate\Bus\Queueable;
use Illuminate\Queue\SerializesModels;
use Illuminate\Support\Facades\Storage;
use Illuminate\Queue\InteractsWithQueue;
use Illuminate\Contracts\Queue\ShouldQueue;
use Illuminate\Foundation\Bus\Dispatchable;

class ConvertVideoForStreaming implements ShouldQueue
{
    use Dispatchable, InteractsWithQueue, Queueable, SerializesModels;

    public $video;

    public function __construct(Video $video)
    {
        $this->video = $video;
    }

    public function handle()
    {
        // create some video formats...
        $lowBitrateFormat  = (new X264)->setKiloBitrate(500);
        $midBitrateFormat  = (new X264)->setKiloBitrate(1500);
        $highBitrateFormat = (new X264)->setKiloBitrate(3000);

        // open the uploaded video from the right disk...
        FFMpeg::fromDisk($this->video->disk)
            ->open($this->video->path)

        // call the 'exportForHLS' method and specify the disk to which we want to export...
            ->exportForHLS()
            ->withRotatingEncryptionKey(function ($filename, $contents) {
                Storage::disk('streamable_keys')->put($filename, $contents);
            })
        // we'll add different formats so the stream will play smoothly
        // with all kinds of internet connections...
            ->addFormat($lowBitrateFormat)
            ->addFormat($midBitrateFormat)
            ->addFormat($highBitrateFormat)

        // call the 'save' method with a filename...
            ->toDisk('streamable_videos')
            ->save($this->video->id . '.m3u8');

        // update the database so we know the convertion is done!
        $this->video->update([
            'converted_for_streaming_at' => Carbon::now(),
        ]);
    }
}
Cuối cùng, hãy tạo một controller có các chức năng cơ bản như upload file video, convert video và xem video, hãy mở VideoController.php trong thư mục app/Http/Controllers và chỉnh sửa như bên dưới:
<?php

namespace App\Http\Controllers;

use Illuminate\Http\Request;
use App\Models\Video;
use Illuminate\Support\Facades\Storage;
use App\Jobs\ConvertVideoForStreaming;
use App\Http\Requests\StoreVideoRequest;
use ProtoneMedia\LaravelFFMpeg\Support\FFMpeg;

class VideoController extends Controller
{
    public function store(Request $request)
    {
        $video = Video::create([
            'disk'          => 'uploads',
            'original_name' => $request->file->getClientOriginalName(),
            'path'          => $request->file->store('videos', 'uploads'),
        ]);

        $this->dispatch(new ConvertVideoForStreaming($video));

        return response()->json([
            'id' => $video->id,
        ], 201);
    }

    public function show($id)
    {
        $video = Video::where('id', $id)->first();
        return view('play-hls', compact('video'));
    }

    public function playlist($playlist)
    {
        return FFMpeg::dynamicHLSPlaylist()
            ->fromDisk('streamable_videos')
            ->open($playlist)
            ->setKeyUrlResolver(function ($key) {
                return route('videos.key', ['key' => $key]);
            })
            ->setMediaUrlResolver(function ($mediaFilename) {
                return Storage::disk('streamable_videos')->url($mediaFilename);
            })
            ->setPlaylistUrlResolver(function ($playlistFilename) {
                return route('videos.playlist', ['playlist' => $playlistFilename]);
            });
    }

    public function key($key)
    {
        return Storage::disk('streamable_keys')->download($key);
    }
}
Setting Routes
Hãy mở route.php nằm trong thư mục routes và chỉnh sửa như sau:
<?php

use Illuminate\Support\Facades\Route;
use App\Http\Controllers\VideoController;

/*
|--------------------------------------------------------------------------
| Web Routes
|--------------------------------------------------------------------------
|
| Here is where you can register web routes for your application. These
| routes are loaded by the RouteServiceProvider within a group which
| contains the "web" middleware group. Now create something great!
|
*/

Route::get('/', function () {
    return view('welcome');
});

Route::resource('videos', VideoController::class);
Route::group(['prefix' => 'videos', 'as' => 'videos.'], function () {
   Route::get('key/{key}', [VideoController::class, 'key'])->name('key');
   Route::get('playlist/{playlist}', [VideoController::class, 'playlist'])->name('playlist');
});
Tạo mới Blade File
Đầu tiên, chúng ta hãy xây dựng giao diện upload file đơn giản, hãy mở welcome.php nằm trong thư mục resources/views và chỉnh sửa như sau:
<!DOCTYPE html>
<html>
<head>
    <title>Encrypted HLS with Laravel FFMpeg: Protect your videos with AES-128 Encryption</title>
    <meta name="_token" content="{{csrf_token()}}" />
    <link rel="stylesheet" href="https://maxcdn.bootstrapcdn.com/bootstrap/3.3.6/css/bootstrap.min.css">
    <link rel="stylesheet" href="https://unpkg.com/dropzone@5/dist/min/dropzone.min.css"type="text/css"/>
</head>
<body>
<div class="container">
    <h3 class="jumbotron">Encrypted HLS with Laravel FFMpeg: Protect your videos with AES-128 Encryption</h3>
    <form method="post" action="{{ route('videos.store') }}" enctype="multipart/form-data" class="dropzone" id="dropzone">
        @csrf
    </form>
</div>
<script src="https://code.jquery.com/jquery-3.6.0.js" integrity="sha256-H+K7U5CnXl1h5ywQfKtSj8PCmoN9aaq30gDh27Xc0jk=" crossorigin="anonymous"></script>
<script src="https://unpkg.com/dropzone@5/dist/min/dropzone.min.js"></script>
<script type="text/javascript">
    Dropzone.options.dropzone =
    {
        maxFilesize: 12,
        renameFile: function(file) {
            var dt   = new Date();
            var time = dt.getTime();
           return time+file.name;
        },
        acceptedFiles: ".mp4,.mkv,.avi",
        addRemoveLinks: true,
        timeout: 5000,
        success: function(file, response)
        {
            console.log(response);
        },
        error: function(file, response)
        {
           return false;
        }
    };
</script>
</body>
</html>
Tiếp theo, xây dựng giao diện để xem video HLS, hãy tạo file play-hls.blade.php nằm trong thư mục resources/views và có nội dung như sau
<!DOCTYPE html>
<html>
    <head>
        <meta charset="utf-8">
        <meta name="viewport" content="width=device-width, initial-scale=1">
        <title>Encrypted HLS with Laravel FFMpeg: Protect your videos with AES-128 Encryption</title>
        <link href="https://unpkg.com/tailwindcss@^2/dist/tailwind.min.css" rel="stylesheet">
        <link href="https://unpkg.com/video.js/dist/video-js.css" rel="stylesheet">
        <link rel="stylesheet" href="https://maxcdn.bootstrapcdn.com/bootstrap/3.3.6/css/bootstrap.min.css">
    </head>
    <body>
        <div class="container">
            <h3 class="jumbotron">Encrypted HLS with Laravel FFMpeg: Protect your videos with AES-128 Encryption</h3>
            <div class="max-w-6xl w-full mx-auto sm:px-6 lg:px-8">
                <video-js id="my_video_1" class="vjs-default-skin vjs-16-9 vjs-big-play-centered" controls preload="auto" data-setup='{"fluid": true}'>
                    <source src="{{ route('videos.playlist', ['playlist' => ($video->id ?? 0) . '.m3u8']) }}" type="application/x-mpegURL">
                </video-js>
            </div>
        </div>
        <script src="https://unpkg.com/video.js/dist/video.js"></script>
        <script src="https://unpkg.com/@videojs/http-streaming/dist/videojs-http-streaming.js"></script>
        <script>
            var player = videojs('my_video_1');
        </script>
    </body>
</html>
Trải nghiệm HTTP Live Streaming trong Laravel
Bạn truy cập vào http://127.0.0.1:8000/ để thực hiện upload video

Bạn vào DB kiểm tra xem record có id mới nhất có giá trị converted_for_streaming_at, nếu đã có giá trị các bạn truy cập http://127.0.0.1:8000/videos/{video}
Trong đó: video là id tự động tăng của model Video.
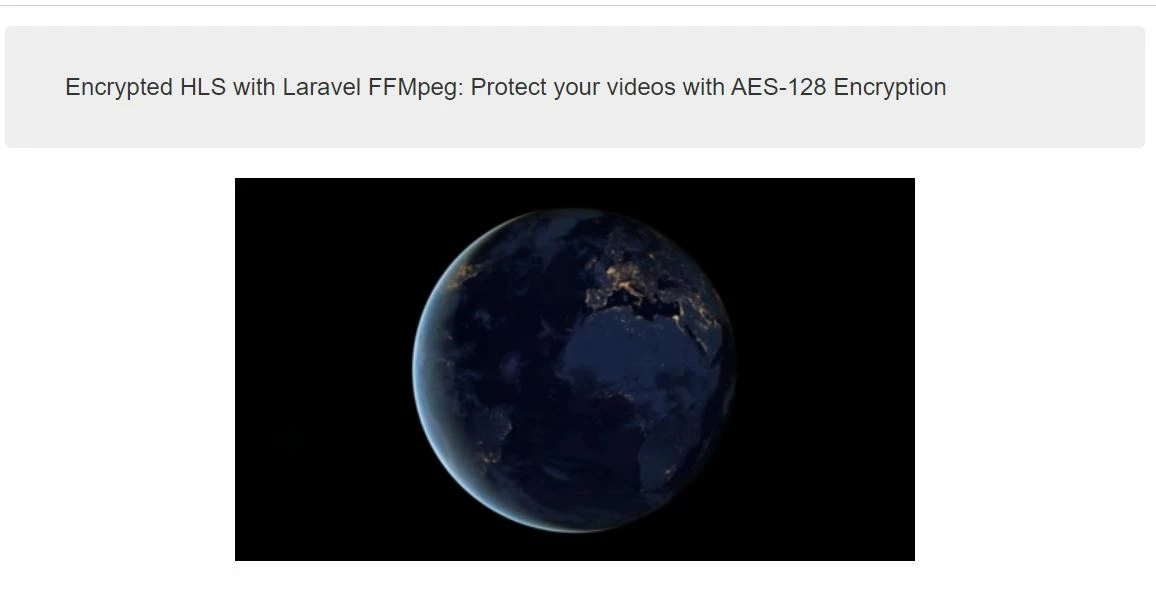
Như vậy, chúng ta đã thực hiện xong một ví dụ đơn giản về HTTP Live Streaming trong Laravel rồi, tôi hy vọng hướng dẫn này của tôi sẽ giúp ích cho việc học tập cũng như công việc của bạn. Nếu bạn có bất kỳ câu hỏi nào hãy liên hệ với chúng tôi qua trang contact. Cảm ơn bạn.
Tài liệu tham khảo:
https://github.com/protonemedia/laravel-ffmpeg
https://www.youtube.com/watch?v=WlbzWoAcez4
https://phpnews.io/feeditem/how-to-use-ffmpeg-in-your-laravel-projects

