
Chức năng upload file hay hình ảnh là một chức năng rất phổ biến, hầu hết các dự án đều có chức năng này.
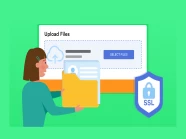
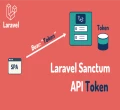
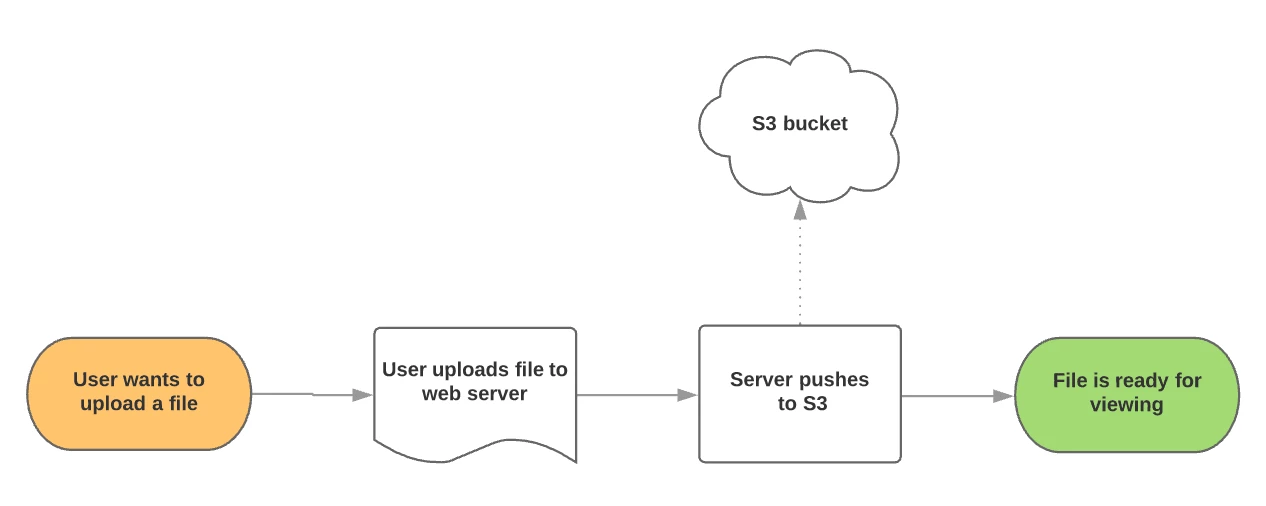
Đa số các nhà phát triển khi thực hiện chức năng upload file, thường sẽ sử dụng cách làm như sơ đồ dưới đây:

Khi upload lên server, bạn có thể upload file vào thư mục có thể truy cập từ trình duyệt chẳng hạn /public/uploads và mọi thứ đều rất tuyệt vời.
Rồi đến một ngày trời mưa giông bão, tôi ngồi xuống bên cạnh laptop của mình, bắt đầu search google và một thế lực vô hình nào đó đã giúp tôi biết đến dịch vụ S3 của AWS, tôi bắt đầu tìm hiểu và thử nghiệm trong dự án của mình.
Lúc đó, trong đầu của tôi đã nghĩ đến ý tưởng rất đơn giản nhất là tôi upload file lên server của mình và từ đó sao chép file từ server của mình lên S3, cụ thể là tôi sử dụng Laravel Storage để upload file.
Nhưng sau này, trong một buổi seminar của team tôi trên công ty, thì tôi nhận ra được đây là một điều sai lầm.
Vì để có thể upload file lên S3 của AWS, tôi phải thao tác file upload đó 2 lần, đồng thời tôi phải tốn thêm chi phí liên quan đến server để có thể upload được những file có dung lượng lớn, có thể gia tăng thêm độ trễ mà bất kì người dùng nào cũng cảm thấy rất khó chịu khi trải nghiệm sản phẩm của bạn.
Làm sao tôi có thể sửa chữa sai lầm của mình?
Giả sử, ứng dụng của bạn đã setting mọi thứ liên quan đến S3 để lưu trữ file cho ứng dụng của bạn.
Đồng thời bạn cần setting thêm Cross-origin resource sharing cho Bucket S3 của bạn.
Dưới đây là đoạn Json, tôi setting Cross-origin resource sharing trong bài viết này:
[
    {
        "AllowedHeaders": [
            "*"
        ],
        "AllowedMethods": [
            "GET",
            "PUT"
        ],
        "AllowedOrigins": [
            "*"
        ],
        "ExposeHeaders": [],
        "MaxAgeSeconds": 3000
    }
]
Đầu tiên, bạn chạy lệnh sau để tạo ra controller nhằm thực hiện nhiệm vụ tạo ra presigned url cho client thực hiện upload file.
php artisan make:controller S3PresignedUrlControllerSau đó, bạn hãy chỉnh sửa S3PresignedUrlController.php như sau:
<?php

namespace App\Http\Controllers;

use Illuminate\Http\Request;
use Illuminate\Support\Facades\Storage;

class S3PresignedUrlController extends Controller
{
    public function index(Request $request)
    {
        if ($request->name) {
            return response()->json([
                'error'     => false,
                'url'       => $this->get_amazon_url(request('name')),
                'additionalData' => [
                    // Uploading many files and need a unique name? UUID it!
                    //'fileName' => Uuid::uuid4()->toString()
                ],
                'code'      => 200,
            ], 200);
        }
        return response()->json([
            'error'     => true,
            'message'   => [
                'name' => 'The name field is required.'
            ],
            'code'      => 400,
        ], 400);
    }

    private function get_amazon_url($name)
    {
        $client = Storage::disk('s3')->getClient();
        $expiry = "+90 minutes";
        $command = $client->getCommand('PutObject', [
            'Bucket' => config('filesystems.disks.s3.bucket'),
            'Key'    => $name,
        ]);
        $request = $client->createPresignedRequest($command, '+20 minutes');
        return (string)$request->getUri();
    }
}
※Lưu ý:
khi ứng dụng của bạn sử dụng Laravel < 9 thì bạn thay đổi mã nguồn sau:
$client = Storage::disk('s3')->getClient();⥥Thành mã nguồn này⥥
$client = Storage::disk('s3')->getDriver()->getAdapter()->getClient();Tiếp theo, bạn hãy chỉnh sửa file routes.php như sau:
<?php

use Illuminate\Support\Facades\Route;
use App\Http\Controllers\S3PresignedUrlController;

/*
|--------------------------------------------------------------------------
| Web Routes
|--------------------------------------------------------------------------
|
| Here is where you can register web routes for your application. These
| routes are loaded by the RouteServiceProvider within a group which
| contains the "web" middleware group. Now create something great!
|
*/

Route::get('/', function () {
    return view('welcome');
});
Route::get('/s3-presigned-url', [S3PresignedUrlController::class, 'index']);
Cuối cùng, bạn hãy mở file welcome.php và chỉnh sửa như sau:
<!doctype html>
<html lang="en">
<head>
<meta charset="utf-8">
<meta name="viewport" content="width=device-width, initial-scale=1">
<meta name="description" content="ManhDan Blogs">
<meta name="author" content="ManhDan Blogs">
<meta name="generator" content="ManhDan Blogs 0.84.0">
<title>ManhDan Blogs</title>
<link rel="icon" href="https://manhdandev.com/web/img/favicon.webp" type="image/x-icon"/>
<link rel="stylesheet" href="https://cdn.jsdelivr.net/npm/[email protected]/dist/css/bootstrap.min.css">
<link href="https://unpkg.com/[email protected]/dist/dropzone.css" rel="stylesheet" type="text/css" />
</head>
<body>
<div class="col-lg-8 mx-auto p-3 py-md-5">
<header class="d-flex align-items-center pb-3 mb-5 border-bottom">
<a href="https://manhdandev.com" class="d-flex align-items-center text-dark text-decoration-none" target="_blank">
<img src="https://manhdandev.com/web/img/logo.webp" width="100px" height="100px">
</a>
</header>
<main>
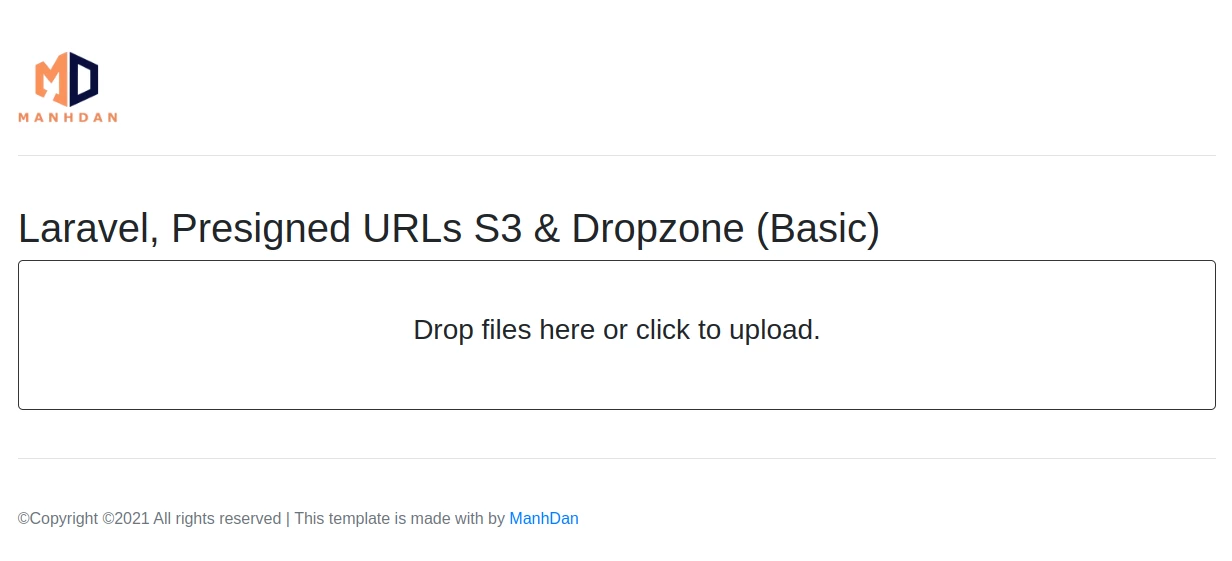
<h1>Laravel, Presigned URLs S3 & Dropzone (Basic)</h1>
<div class="mb-5">
<form class="form" action="#" method="post">
<div class="fv-row">
<div class="dropzone" id="dropzone">
<div class="dz-message needsclick">
<i class="bi bi-file-earmark-arrow-up text-primary fs-3x"></i>
<div class="ms-4">
<h3 class="fs-5 fw-bolder text-gray-900 mb-1">Drop files here or click to upload.</h3>
</div>
</div>
</div>
</div>
</form>
</div>
</main>
<footer class="pt-5 my-5 text-muted border-top">
©Copyright ©2021 All rights reserved | This template is made with
<i class="fa fa-heart-o"></i> by <a href="https://www.facebook.com/beater.2708" rel="noopener" target="_blank">ManhDan</a>
</footer>
</div>
<script src="https://cdn.jsdelivr.net/npm/[email protected]/dist/js/bootstrap.min.js"></script>
<script src="https://unpkg.com/[email protected]/dist/dropzone-min.js"></script>
<script>
var dropzone = new Dropzone('#dropzone',{
url: '#',
method: 'put',
autoQueue: false,
autoProcessQueue: false,
init: function() {
/*
When a file is added to the queue
- pass it along to the signed url controller
- get the response json
- set the upload url based on the response
- add additional data (such as the uuid filename)
to a temporary parameter
- start the upload
*/
this.on('addedfile', function(file) {
fetch('/s3-presigned-url?name='+file.name, {
method: 'get'
}).then(function (response) {
return response.json();
}).then(function (json) {
dropzone.options.url = json.url;
file.additionalData = json.additionalData;
dropzone.processFile(file);
});
});
/*
When uploading the file
- make sure to set the upload timeout to near unlimited
- add all the additional data to the request
*/
this.on('sending', function(file, xhr, formData) {
xhr.timeout = 99999999;
for (var field in file.additionalData) {
formData.append(field, file.additionalData[field]);
}
});
/*
Handle the success of an upload
*/
this.on('success', function(file) {
// Let the Laravel application know the file was uploaded successfully
});
},
sending: function(file, xhr) {
var _send = xhr.send;
xhr.send = function() {
_send.call(xhr, file);
};
},
});
</script>
</body>
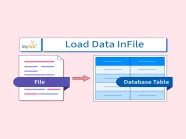
</html>Sau đây là sơ đồ upload file lên S3 của AWS khi bạn sử dụng Presigned URLs S3:

Trải nghiệm Presigned URLs S3 & Dropzone trong Laravel
Tài liệu tham khảo:
https://jcode.me/laravel-dropzone-the-right-way
https://docs.aws.amazon.com/AmazonS3/latest/userguide/using-presigned-url.html