
elFinder
elFinder là một trình quản lý tập tin mã nguồn mở dành cho web, được viết bằng JavaScript sử dụng jQuery UI.
elFinder được phát triển dựa trên cảm hứng từ sự tiện lợi và đơn giản của chương trình Finder trong hệ điều hành Mac OS X.
Để tìm hiểu thêm, bạn có thể tham khảo tại địa chỉ sau: https://github.com/Studio-42/elFinder
Private Folders Per User
Để tạo các thư mục riêng biệt cho người dùng, chúng ta cần tạo một cơ chế đơn giản để ánh xạ người dùng hiện tại vào một đường dẫn thư mục phù hợp.
Khi xây dựng đường dẫn thư mục, chúng ta cần phải lưu ý những điều sau đây để có thể tránh các cuộc tấn công từ Path Traversal:
● Không tiết lộ bất kỳ thông tin nhạy cảm nào.
● Không sử dụng bất kỳ dữ liệu không an toàn nào.
Thực hiện Private Folders Per User cho elFinder
Trước khi, bắt đầu thực hiện tính năng này, bạn cần phải tích hợp elFinder cho TinyMCE hoặc CKEditor trong Laravel (Phiên bản được áp dụng trong bài viết là Laravel 11).
Nếu bạn chưa thực hiện thì có thể tham khảo lại bài viết:
● Integrating elFinder Into TinyMCE 6 In Laravel
● Integrating elFinder Into CKEditor 5 In Laravel
Xây dựng Authentication trong Laravel
Trước khi, chúng ta thực hiện tính năng tạo thư mục riêng biệt cho người dùng, chúng ta cần phải chuẩn bị chức năng Authentication bằng Laravel.
Đầu tiên, chúng ta sẽ tạo Controller để xây dựng xử lý chức năng Authentication bằng lệnh sau:
php artisan make:controller AuthControllerSau đó, chúng ta tiếp tục chỉnh sửa nội dung của tập tin AuthController.php trong thư mục app/Http/Controllers như sau:
<?php

namespace App\Http\Controllers;

use Illuminate\Http\Request;
use Illuminate\Http\RedirectResponse;
use Illuminate\Support\Facades\Auth;

class AuthController extends Controller
{
    /**
     * Handle an authentication attempt.
     */
    public function authenticate(Request $request)
    {
        if ($request->isMethod('get')) {
            return view('signin');
        }

        $credentials = $request->validate([
            'email'    => ['required', 'email'],
            'password' => ['required'],
        ]);

        if (Auth::attempt($credentials)) {
            $request->session()->regenerate();
            return redirect()->intended('welcome');
        }

        return back()->withErrors([
            'email' => 'The provided credentials do not match our records.',
        ])->onlyInput('email');
    }

    /**
     * Log the user out of the application.
     */
    public function logout(Request $request): RedirectResponse
    {
        Auth::logout();

        $request->session()->invalidate();

        $request->session()->regenerateToken();

        return redirect('/');
    }
}
Sau khi hoàn thành các phương thức xử lý yêu cầu liên quan đến chức năng Authentication.
Chúng ta cần tạo các router để sử dụng các phương thức này. Để làm điều này, hãy chỉnh sửa tập tin routes/web.php như sau:
<?php
...
use App\Http\Controllers\AuthController;
...
Route::match(['get', 'post'], '/', [AuthController::class, 'authenticate'])->name('login');
Route::middleware(['web', 'auth'])->group(function () {
Route::get('logout', [AuthController::class, 'logout'])->name('logout');
Route::view('welcome', 'welcome')->name('welcome');
});
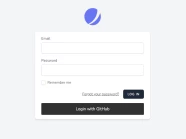
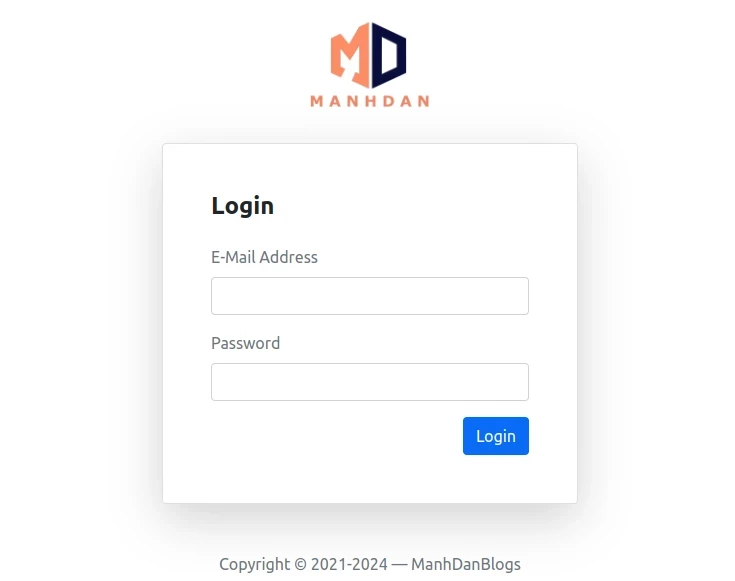
...Cuối cùng, chúng ta sẽ tạo giao diện đăng nhập bằng cách tạo tập tin signin.blade.php nằm trong thư mục resources/views với nội dung như sau:
<!DOCTYPE html>
<html lang="en">
<head>
<title>Private Folders Per User For ElFinder In Laravel</title>
<meta charset="utf-8">
<meta name="viewport" content="width=device-width, initial-scale=1">
<link href="https://cdn.jsdelivr.net/npm/[email protected]/dist/css/bootstrap.min.css" rel="stylesheet">
<meta name="description" content="ManhDan Blogs">
<meta name="author" content="ManhDan Blogs">
<meta name="generator" content="ManhDan Blogs 0.84.0">
<link href="https://cdn.jsdelivr.net/npm/[email protected]/dist/css/bootstrap.min.css" rel="stylesheet" integrity="sha384-BmbxuPwQa2lc/FVzBcNJ7UAyJxM6wuqIj61tLrc4wSX0szH/Ev+nYRRuWlolflfl" crossorigin="anonymous">
</head>
<body>
<section class="h-100">
<div class="container h-100">
<div class="row justify-content-sm-center h-100">
<div class="col-xxl-4 col-xl-5 col-lg-5 col-md-7 col-sm-9">
<div class="text-center my-3">
<img src="https://manhdandev.com/web/img/logo.webp" alt="logo" width="120">
</div>
<div class="card shadow-lg">
<div class="card-body p-5">
<h1 class="fs-4 card-title fw-bold mb-4">Login</h1>
<form action="{{ route('login') }}" method="post" class="needs-validation @if ($errors->any()) was-validated @endif" novalidate="" autocomplete="off">
@csrf
<div class="mb-3">
<label class="mb-2 text-muted" for="email">E-Mail Address</label>
<input id="email" type="email" class="form-control" name="email" value="" required autofocus>
@error('email')
<div class="invalid-feedback">
{{ $message }}
</div>
@enderror
</div>
<div class="mb-3">
<div class="mb-2 w-100">
<label class="text-muted" for="password">Password</label>
</div>
<input id="password" type="password" class="form-control" name="password" required>
</div>
@error('password')
<div class="invalid-feedback">
{{ $message }}
</div>
@enderror
<div class="d-flex align-items-center">
<button type="submit" class="btn btn-primary ms-auto">
Login
</button>
</div>
</form>
</div>
</div>
<div class="text-center mt-5 text-muted">
Copyright © 2021-2024 — ManhDanBlogs
</div>
</div>
</div>
</div>
</section>
</body>
</html>Cài đặt Private Folders Per User
Để bắt đầu thực hiện tính năng tạo thư mục riêng cho từng người dùng, trước tiên chúng ta cần tạo một tập tin có tên là elFinder.php trong thư mục app/Helpers với nội dung như sau:
<?php

namespace App\Helpers;

/**
 * Class elFinder
 *
 * Helper class for elFinder configuration and URL generation.
 */
class elFinder
{
    /**
     * Configure elFinder settings.
     *
     * @return void
     */
    public static function configure(): void
    {

    }

    /**
     * Set the user's folder name.
     *
     * @param string $name The name of the folder.
     * @return void
     */
    public static function setUserFolder(string $name = ''): void
    {
        self::startSessionIfNeeded();
        $_SESSION['elFinder_UserFolder'] = $name ? sha1($name) : '';
    }

    /**
     * Get the user's folder name.
     *
     * @return string The folder name for the user.
     */
    public static function getUserFolder(): string
    {
        self::startSessionIfNeeded();
        return $_SESSION['elFinder_UserFolder'] ?? '';
    }

    /**
     * Get the base URL for elFinder instance.
     *
     * @param string $url The base URL.
     * @param bool $include_user_folder Whether to include the user folder in the URL.
     * @return string The base URL for elFinder instance.
     */
    public static function getBaseUrlByInstance(string $url, bool $include_user_folder = true): string
    {
        $base_url = rtrim($url, '/');

        if ($include_user_folder) {
            return $base_url . '/' . self::getUserFolder();
        }

        return $base_url;
    }

    /**
     * Get the root directory path for elFinder instance.
     *
     * @param string $root The root directory.
     * @return string The root directory path for elFinder instance.
     */
    public static function getRootByInstance(string $root = ''): string
    {
        return empty($root) ? self::getUserFolder() : rtrim($root, '/') . '/' . self::getUserFolder();
    }

    /**
     * Start the session if it's not already started.
     *
     * @return void
     */
    protected static function startSessionIfNeeded(): void
    {
        if (session_status() == PHP_SESSION_NONE) {
            session_start();
        }
    }
}
Sau đó, mở tập tin AppServiceProvider.php trong thư mục app/Providers và chỉnh sửa nội dung như sau:
<?php
...
use App\Helpers\elFinder;

class AppServiceProvider extends ServiceProvider
{
    ...
    public function boot(): void
    {
        elFinder::configure();
    }
}
Chúng ta cần phải tạo một Middleware mới thực hiện nhiệm vụ quan trọng là thay đổi giá trị $_SESSION['elFinder_UserFolder'] để có thể tạo ra thư mục riêng biệt cho người dùng:
php artisan make:middleware elFinderSau khi thực hiện lệnh trên xong, chúng ta sẽ chỉnh sửa tập tin elFinder.php trong thư mục app/Http/Middleware với nội dung như sau:
<?php

namespace App\Http\Middleware;

use Closure;
use Illuminate\Http\Request;
use Symfony\Component\HttpFoundation\Response;
use Illuminate\Support\Facades\Auth;
use App\Helpers\elFinder as elFinderHelper;

class elFinder
{
    /**
     * Handle an incoming request.
     *
     * @param  \Closure(\Illuminate\Http\Request): (\Symfony\Component\HttpFoundation\Response)  $next
     */
    public function handle(Request $request, Closure $next): Response
    {
        if (Auth::check()) {
            elFinderHelper::setUserFolder(Auth::user()->id);
        } else {
            elFinderHelper::setUserFolder();
        }
        return $next($request);
    }
}
Tiếp theo, chúng ta sẽ đăng kí aliases cho Middleware trên trong tập tin bootstrap/app.php:
<?php

...
use App\Http\Middleware\elFinder;

return Application::configure(basePath: dirname(__DIR__))
    ...
    ->withMiddleware(function (Middleware $middleware) {
        ...
        $middleware->alias([
            'elfinder' => elFinder::class,
        ]);
    })
    ...;
Cuối cùng, chúng ta sẽ thêm tùy chọn auth và elfinder vào phần middleware trong tập tin cấu hình config/elfinder.php. Sau khi thực hiện, cấu hình sẽ được cập nhật như sau:
...
'route' => [
    'prefix' => 'elfinder',
    'middleware' => array('web', 'auth', 'elfinder'), //Set to null to disable middleware filter
],
...
Trong bài viết này, chúng ta sẽ phân chia thành hai ví dụ minh họa như sau:
● Lưu trữ tập tin trên máy chủ: Trong ví dụ này, dữ liệu sẽ được lưu trữ và quản lý trực tiếp trên hệ thống máy chủ.
● Lưu trữ trên đám mây: Chúng ta sẽ tập trung vào việc sử dụng dịch vụ lưu trữ đám mây, cụ thể là AWS S3 của Amazon Web Services để lưu trữ và quản lý dữ liệu.
Laravel Storage Local
Nếu dự án Laravel của bạn, sử dụng Storage Local của Laravel để lưu trữ tập tin, bạn hãy chỉnh sửa hàm configure trong tập tin app/Helpers/elFinder.php như sau:
public static function configure(): void
{
    $root = storage_path('app/public');
    $url  = config('filesystems.disks.public.url');
    config([
        'filesystems.disks.public.root' => self::getRootByInstance($root),
        'filesystems.disks.public.url'  => self::getBaseUrlByInstance($url),
    ]);
}
Laravel Storage S3
Nếu dự án Laravel của bạn, sử dụng Storage S3 của Laravel để lưu trữ tập tin, bạn hãy chỉnh sửa hàm configure trong tập tin app/Helpers/elFinder.php như sau:
public static function configure(): void
{
    $url = config('filesystems.disks.s3.url');
    config([
        'filesystems.disks.s3.root' => self::getRootByInstance(),
        'filesystems.disks.s3.url'  => self::getBaseUrlByInstance($url, false),
    ]);
}
Kết quả của công việc bạn đã làm đang chờ bạn khám phá!
Sau khi hoàn thành các bước trước, giờ là lúc để chúng ta khám phá thành quả của công sức mình.
Để kiểm tra tính năng tạo thư mục riêng cho từng người dùng, chúng ta cần tạo 2 người dùng mới.
Trong trường hợp này, chúng ta sẽ dụng Laravel Tinker để thực hiện thao tác nhanh hơn:
php artisan tinkerTrong trường hợp này, chúng ta sẽ sử dụng Laravel Tinker để thực hiện thao tác nhanh chóng:
\App\Models\User::factory(2)->create();❄ Giả sử, sau khi chúng ta thực hiện lệnh trên chúng ta sẽ có 2 người dùng mới:
Đầu tiên, chúng ta hãy mở trình duyệt lên và truy cập vào địa chỉ http://127.0.0.1
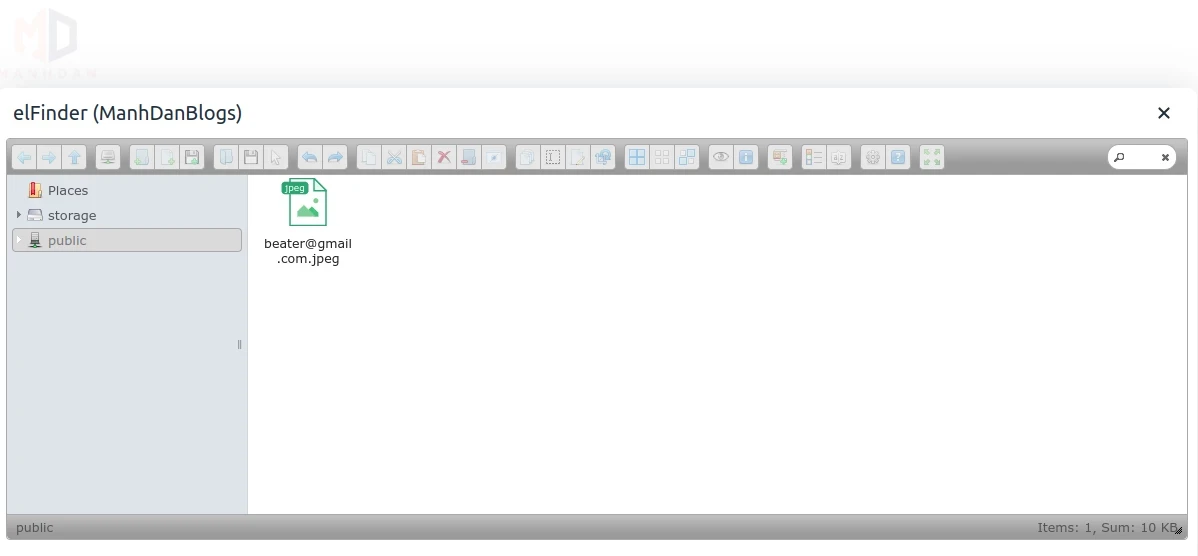
Tiếp theo, chúng ta sẽ đăng nhập bằng người dùng [email protected] và thực hiện upload hình ảnh bằng elFinder:
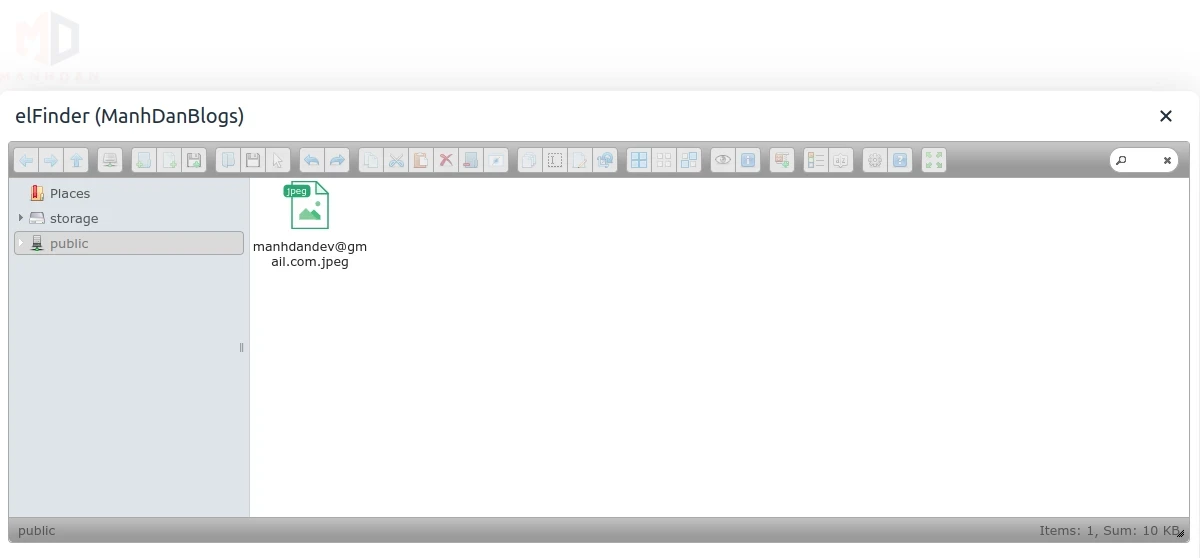
Cuối cùng, chúng ta sẽ đăng nhập bằng người dùng [email protected] và thực hiện upload hình ảnh bằng elFinder: